Last updated: 2018/08/14 17:04 — added GoDNS.
Domain name
The most important part of DDNS is a domain name. It can be paid or free.
This example uses a free domain:
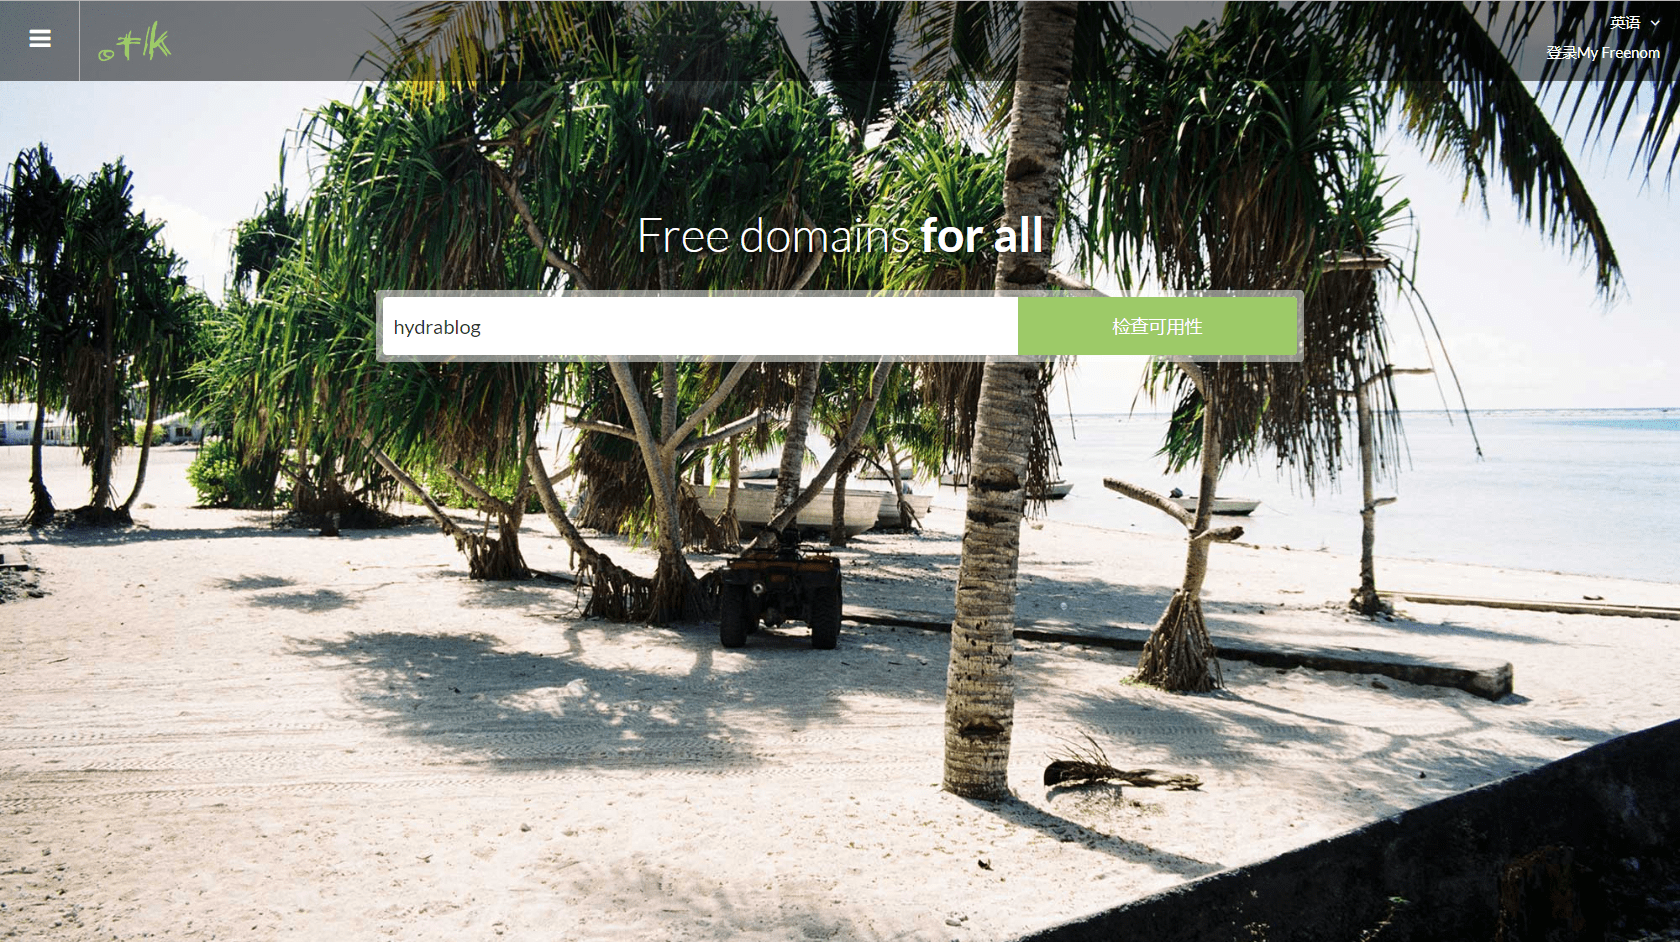 http://www.dot.tk/zh/index.html — Free domains for all.
Using hydrablog as an example, there are five free domain extensions available. I chose .cf. We will use DNSPod later.
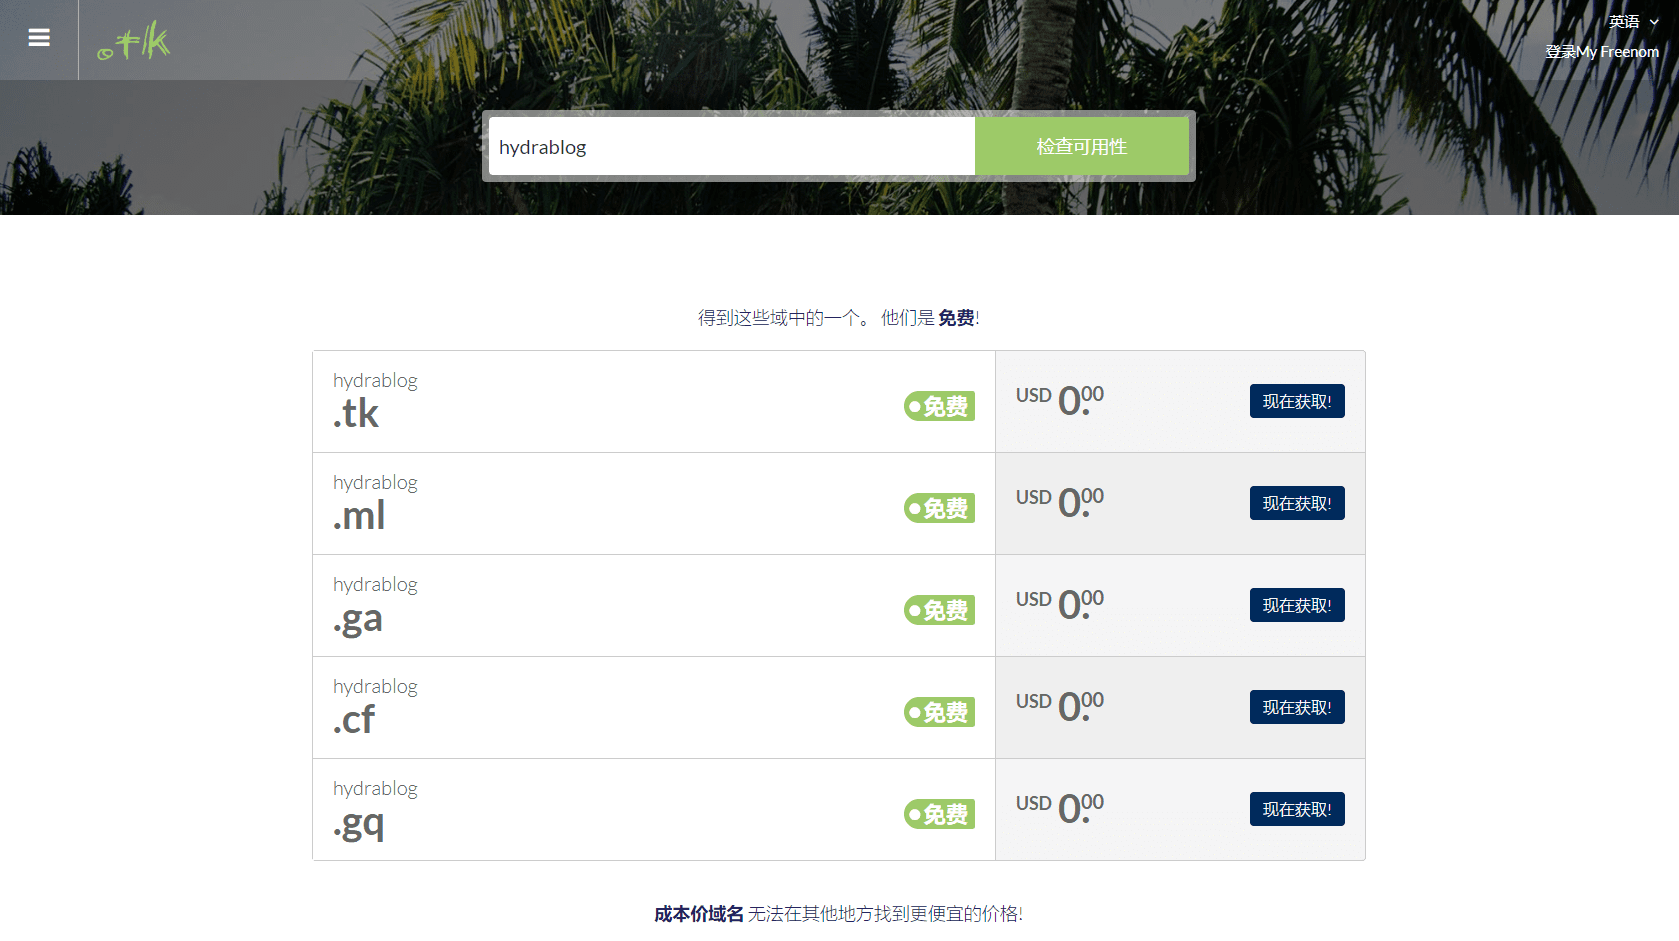
You will be redirected to Freenom. Select a twelve-month registration period and enter an IP address in the DNS settings as a placeholder.
Continue to the next page and register an account or sign in.
Open the domain management page and change the domain’s name servers to DNSPod’s.
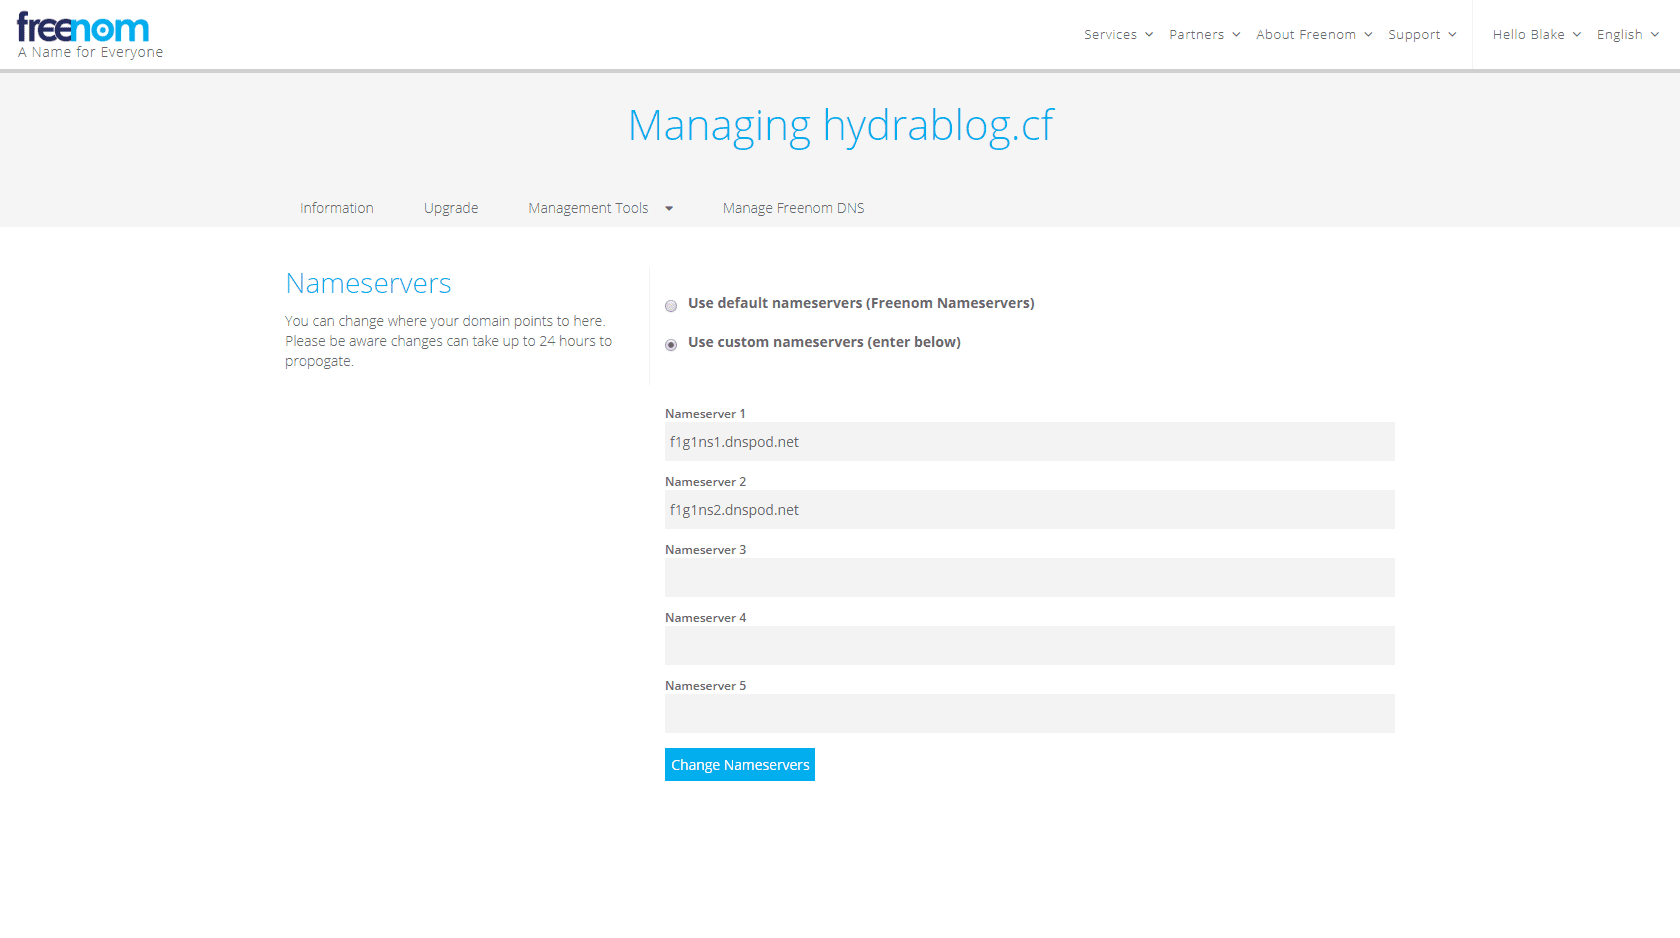
DNSPod configuration
Add the domain.
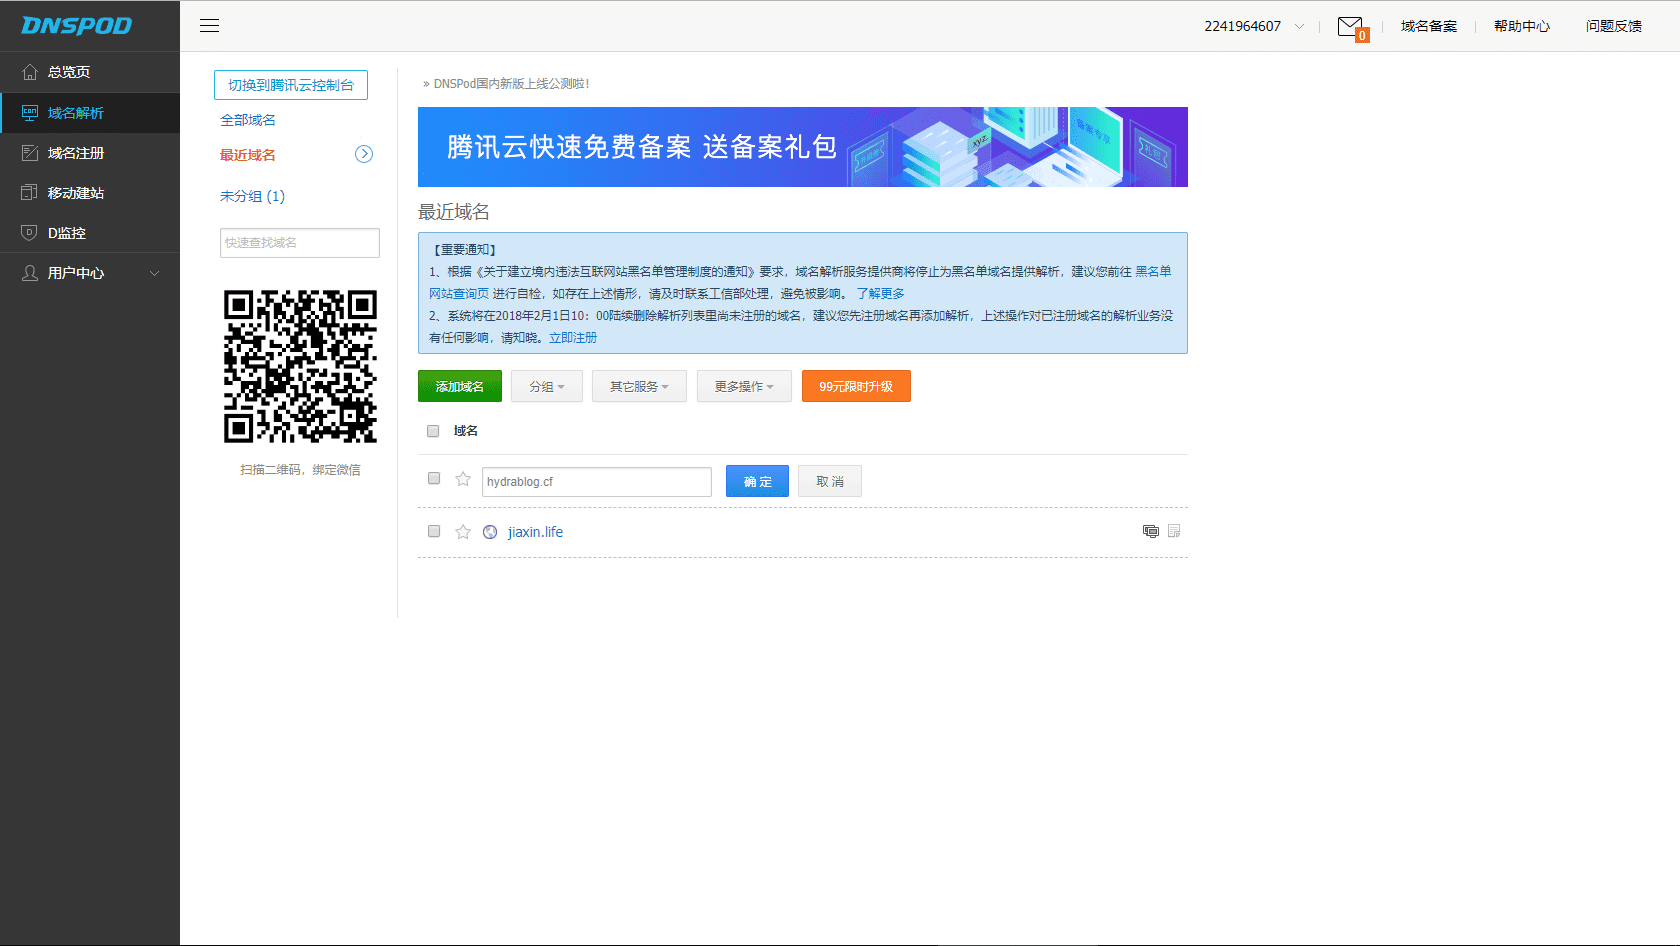
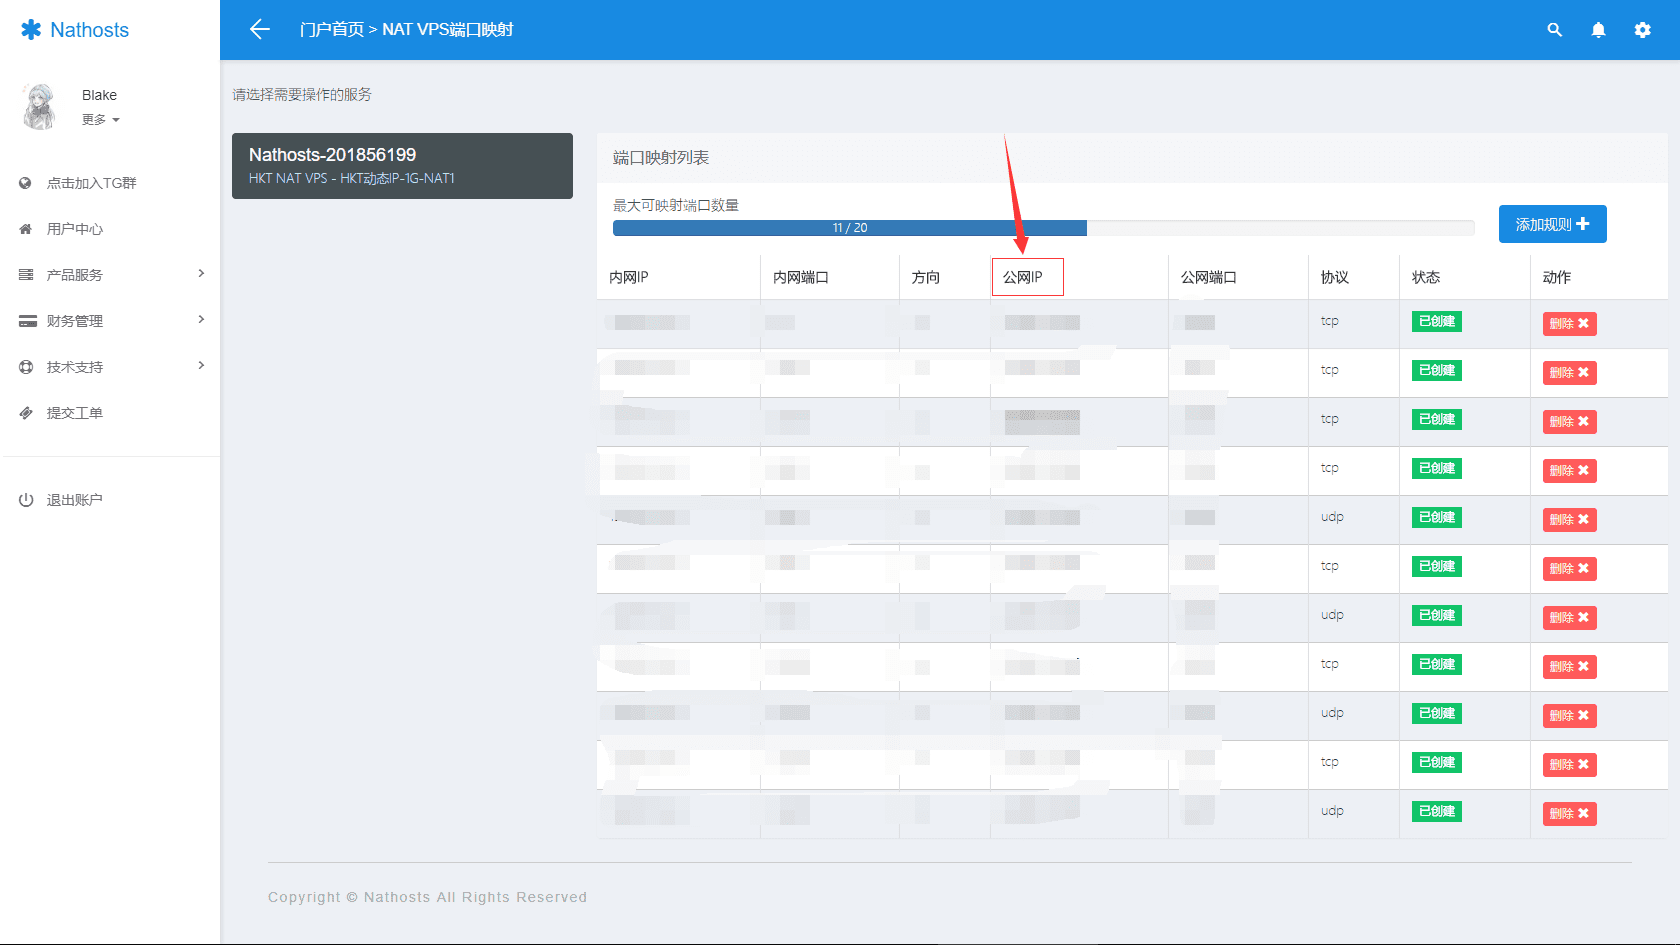
Add a DNS record, using the IP address provided in your hosting control panel.
Clients and usage
ArDNSPod
ArDNSPod is a pure-shell dynamic DNS client based on DNSPod’s user API. It can use the address associated with a network interface.
Usage
Copy dns.conf.example to dns.conf in the same directory, then edit it for your configuration.
Run ddnspod.sh directly. It can also be run from cron.
Configuration format:
# Password authentication is not recommended for security reasons
# arMail="test@gmail.com"
# arPass="123"

# Token authentication is recommended
# Use the format TokenID,Token
arToken="12345,7676f344eaeaea9074c123451234512d"

# One domain per line
arDdnsCheck "test.org" "subdomain"
Author: anrip.
GoDNS
GitHub project: https://github.com/timothyye/godns
git clone https://github.com/timothyye/godns.git
cd cmd/godns
go get -v
go build
$ ./godns -h
Usage of ./godns:
  -c string
        Specify a config file (default "./config.json")
  -d    Run it as docker mode
  -h    Show help
Download https://github.com/timothyye/godns/blob/master/config_sample.json and rename it to config.json.
{
  "provider": "DNSPod",
  "email": "example@gmail.com",
  "password": "YourPassword",
  "login_token": "",
  "domains": [{
      "domain_name": "example.com",
      "sub_domains": ["www","test"]
    },{
      "domain_name": "example2.com",
      "sub_domains": ["www","test"]
    }
  ],
  "ip_url": "http://members.3322.org/dyndns/getip",
  "log_path": "./godns.log",
  "socks5_proxy": ""
}
Finally, run nohup ./godns &.
There are several other ways to start the program; see the GitHub project for details.
Scheduled updates with cron
Usage
*/15 * * * * curl -k -X POST https://dnsapi.cn/Record.Ddns -d 'login_email=LOGIN_EMAIL&login_password=LOGIN_PASSWORD&format=json&domain_id=DOMAIN_ID&record_id=RECORD_ID&record_line=默认&sub_domain=SUBDOMAIN'
Further configuration
To obtain login_token, open DNSPod → User Center → Security Settings → API Token.
Join the ID and token with a standard comma (,). The resulting string is the common request parameter login_token.
To obtain domain_id:
curl 'https://dnsapi.cn/Domain.List' -d 'login_token=<your_login_token>&format=json'
Find the domain’s domain_id in the domains field of the response.
To obtain record_id:
curl 'https://dnsapi.cn/Record.List' -d 'login_token=<your_login_token>&format=json&domain_id=<your_domain_id>'
Find the subdomain’s record_id in the records field of the response.
Keep record_line=默认 unchanged.
Ruby implementation — not recommended for beginners
Before running it, make sure Ruby is installed and configured. Search for instructions if you need help installing Ruby; the original post recommends finding a reliable guide.
First, sign in to the domain management page on DNSPod’s website and add an A record for DDNS. For example, if your domain is abc.com and you want to use bt.abc.com, add an A record for the desired subdomain. The original instructions refer to a record named abc in this step, while the configuration example below uses bt.
Next, get the code from GitHub. You can download it through the website, or clone it if Git is installed:
git clone git://github.com/TimothyYe/DynDNS.git
Enter the DynDNS directory and edit the configuration files Config.rb and Config.yaml:
# Definition of static strings
login_email : "abc@gmail.com"
login_password : "1234"

your_Domain : "abc.com"
your_SubDomain : "bt"
login_email is your DNSPod account email, and login_password is its login password.
your_Domain is your domain, such as abc.com above. your_SubDomain is the name of the new A record, such as bt.
Save the changes and start it with:
ruby DynDNS.rb start
The script runs in the background and checks your public IP address every five minutes. If it differs from the IP address in the A record, the script updates that record.
After starting it, ping the subdomain to check whether its IP address has been updated to your current public IP.
You can also inspect logger.txt, generated in the current directory, for runtime logs.
That completes the setup. Wait ten minutes, then use your new domain name to reach your IP address.
Nathosts has been authorized to use this tutorial.